Source Management
To manage your sources, navigate to Data Control > Sources in the Faros user interface. You will now see a list of all the sources that have been connected to Faros. There are several things you can do with a source from here:
-
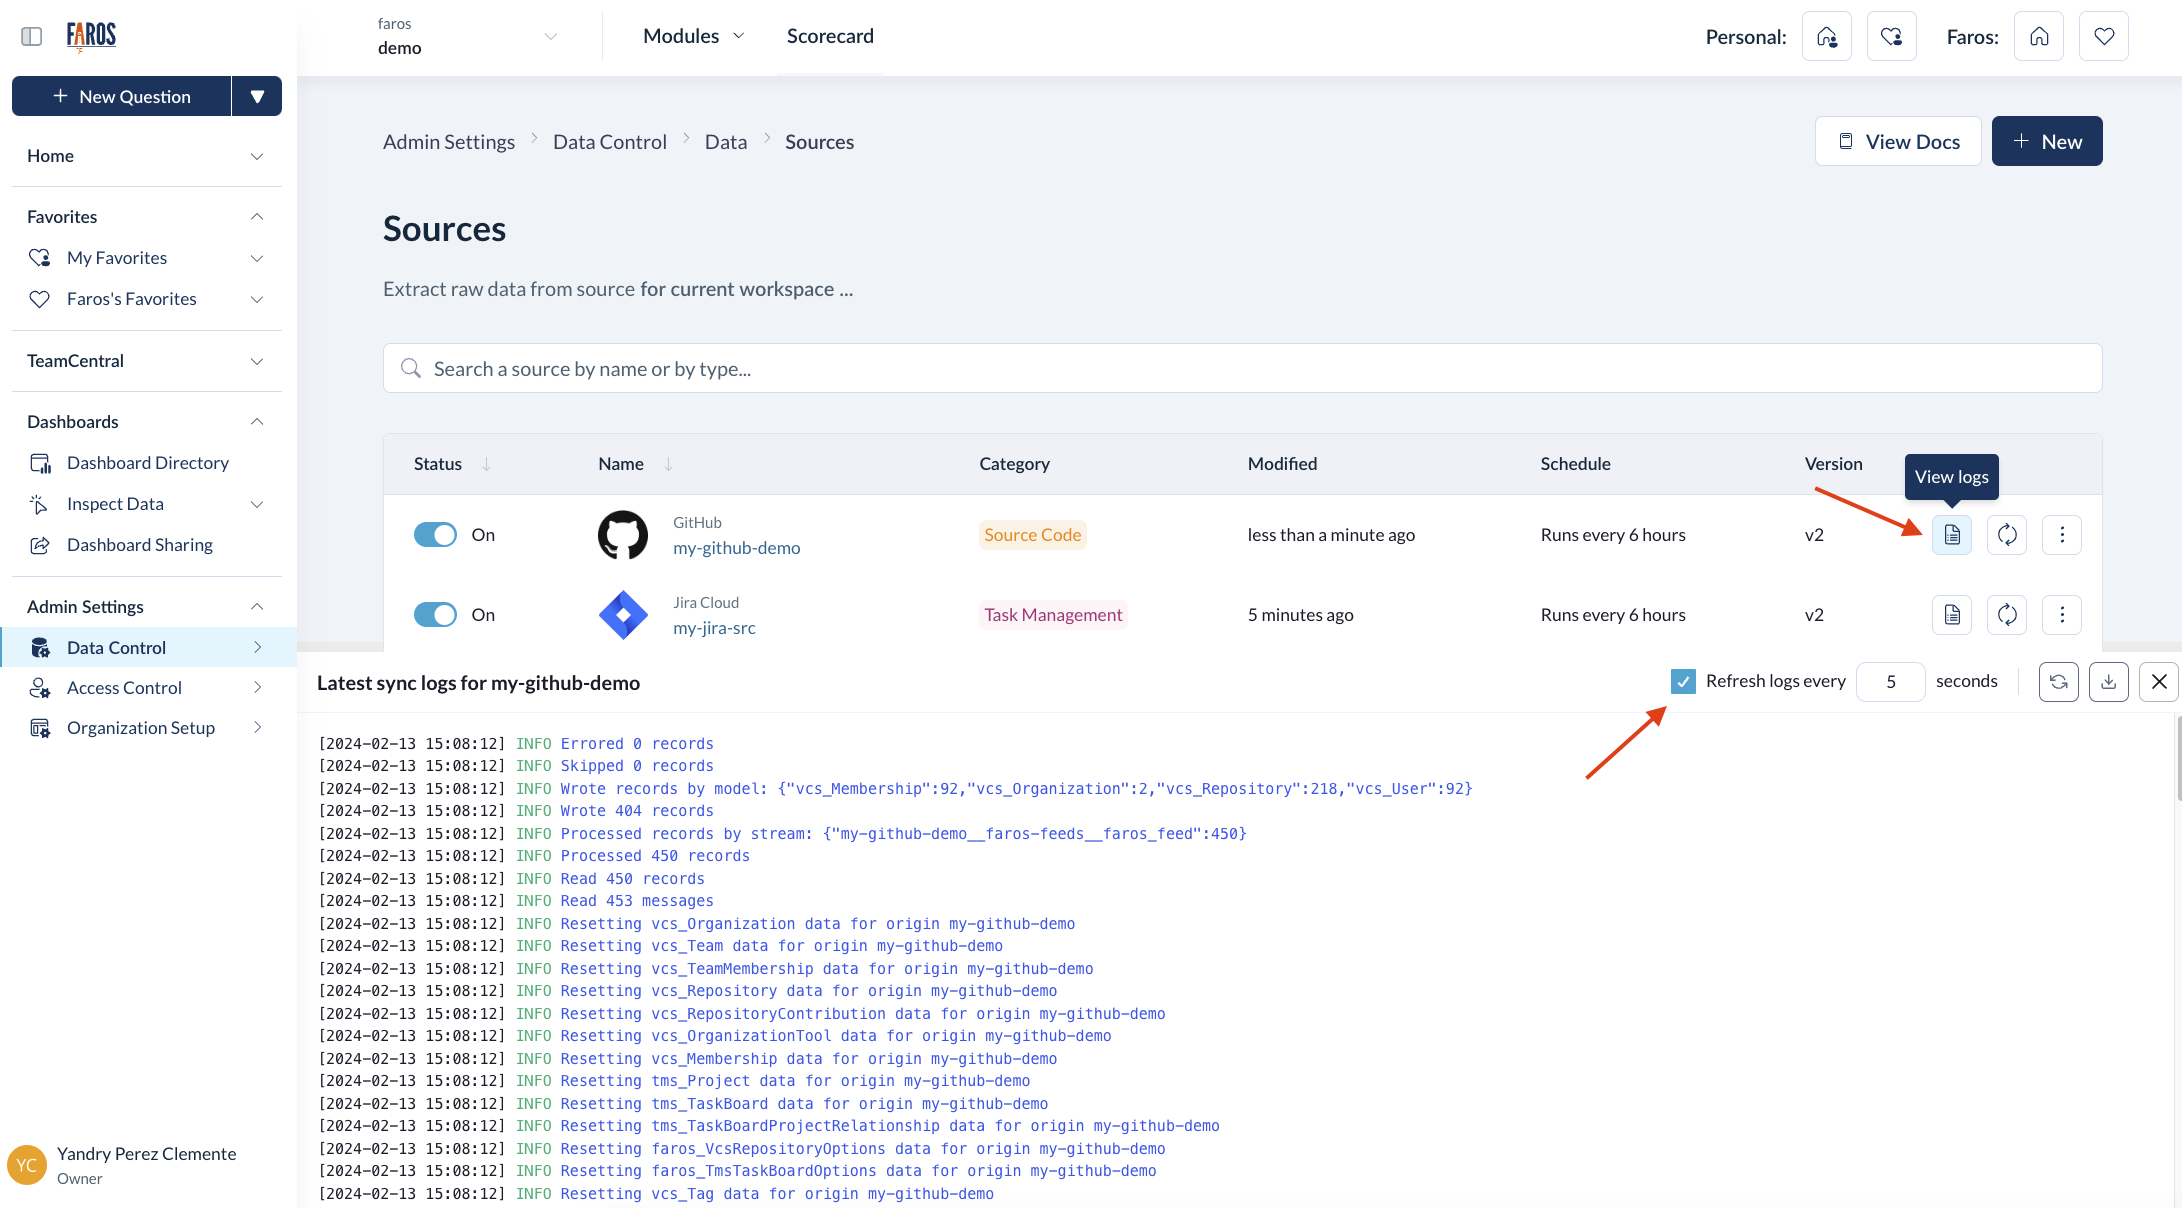
View logs: Clicking on this button for any source will bring up the latest synchronization logs in the bottom panel. Within this panel, you can also opt to automatically refresh the logs at a set interval by selecting the
Refresh logs everycheckbox.
-
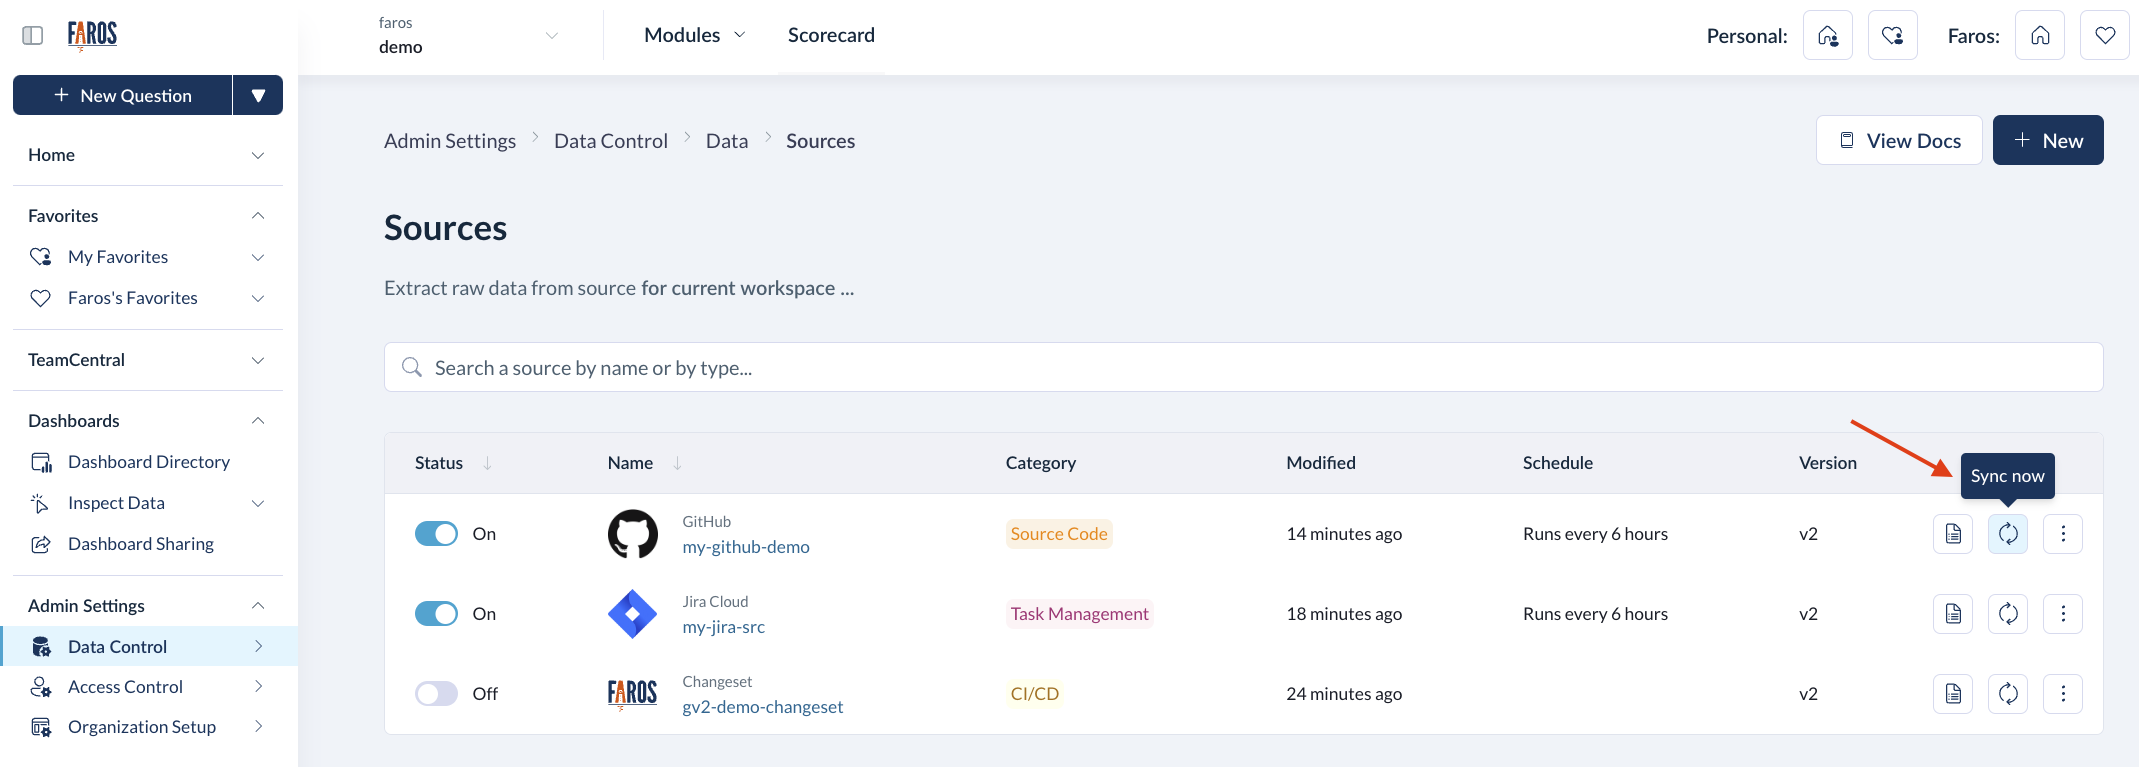
Trigger a sync: Syncs run on the schedule that you have configured for each source during set-up. However, you can also trigger an immediate sync for any source, by clicking
Sync now.
-
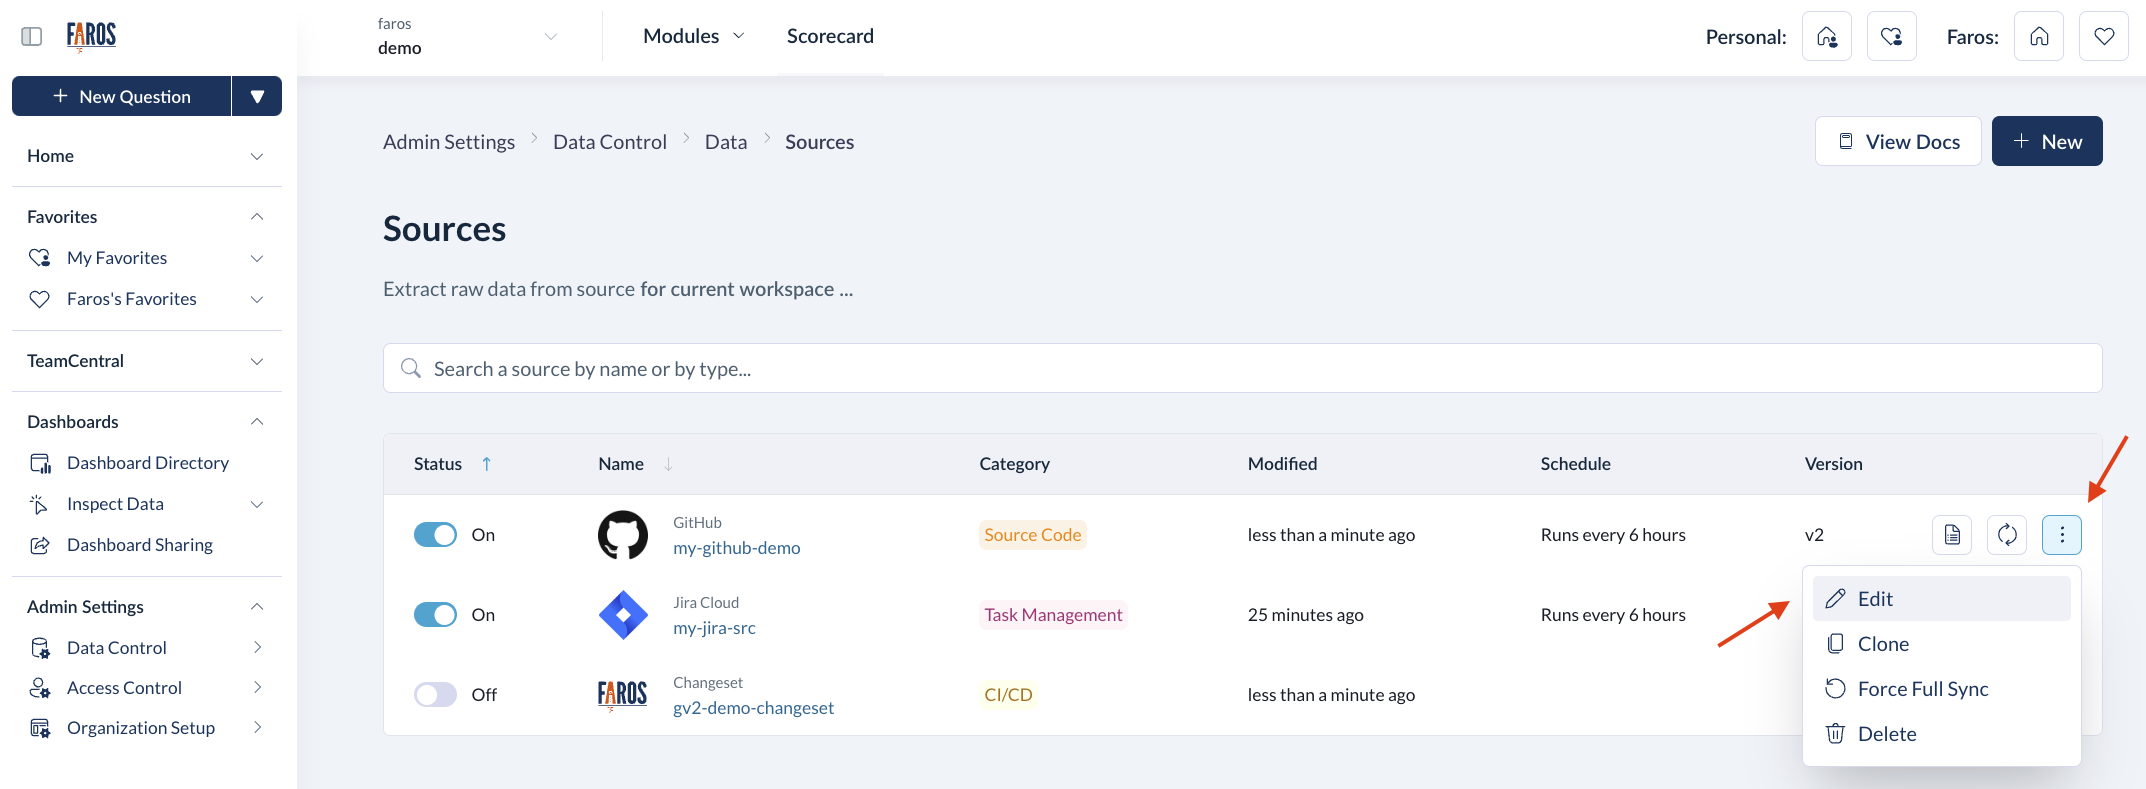
Edit the source: To modify a source's configuration, click on the
⋮icon next to it and choose theEditoption. This action will reopen the configuration panel, allowing you to adjust the settings. After making the necessary changes, click onUpdate Sourceto apply and save these updates.
-
Clone the source: Choosing
Clonefrom the options under the⋮menu enables you to clone the source. You have the option to clone it to the same graph or to a new one. For more details on graphs, refer to Faros graphs. During the cloning process, you must assign a new name to the source, as names must be unique across all graphs. The cloned source will be created in a disabled state, giving you the opportunity to adjust any settings before Faros initiates data synchronization. -
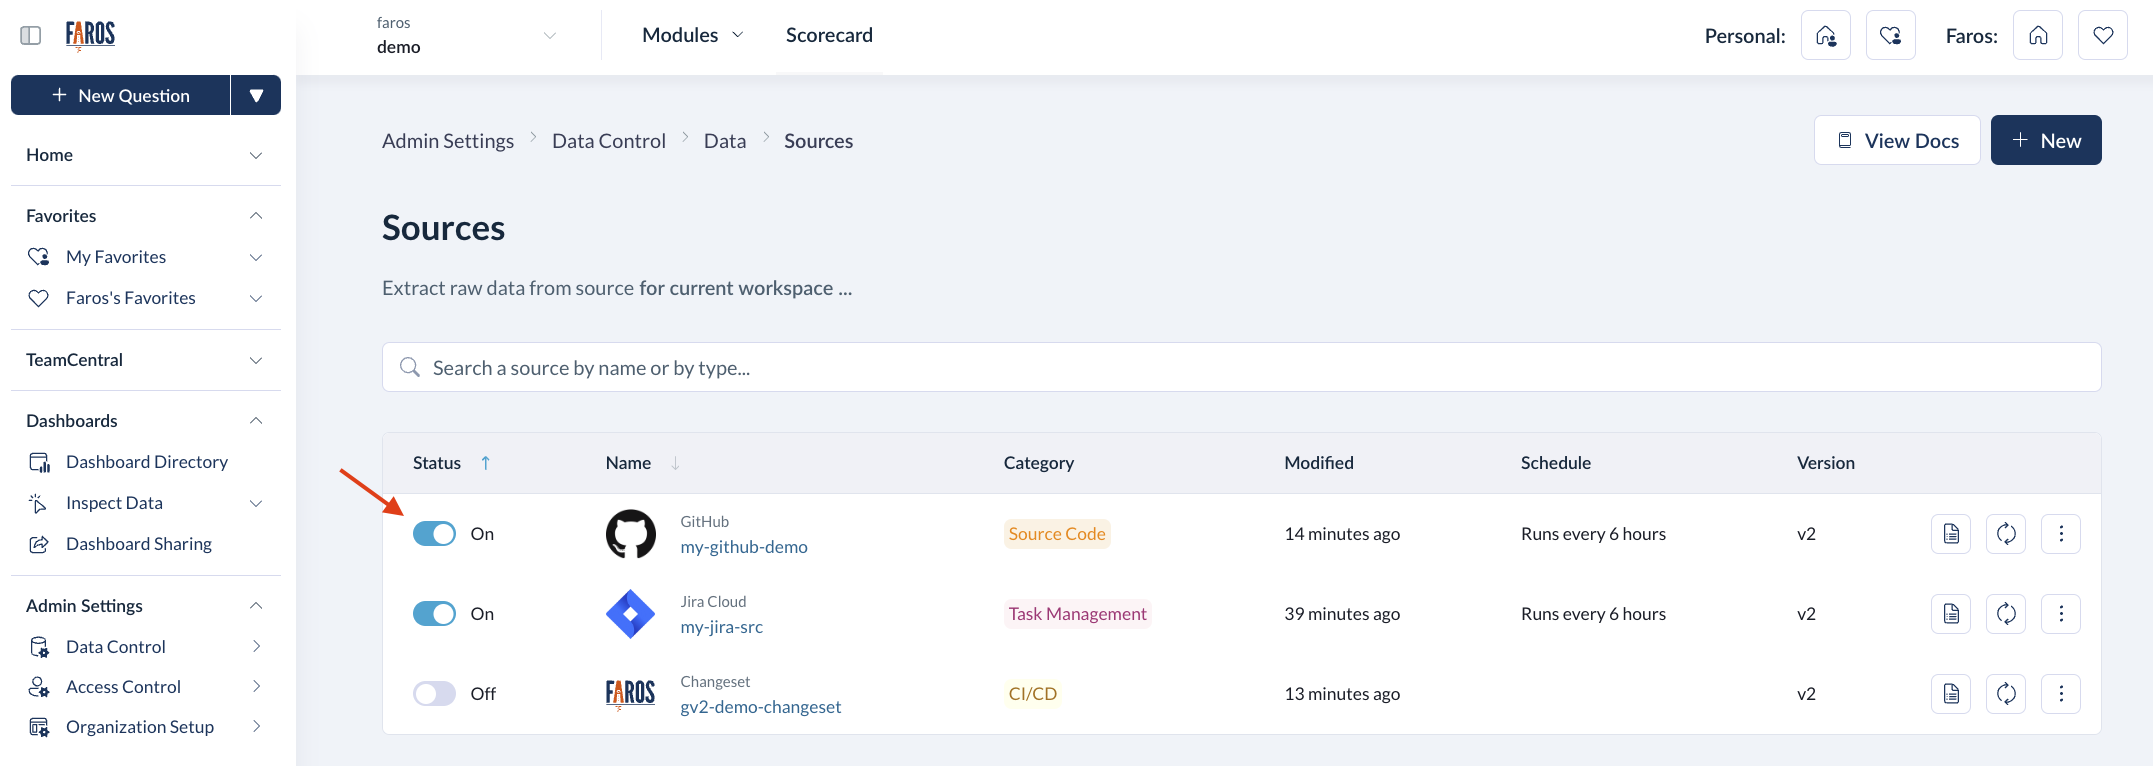
Enable/Disable: You can pause or resume the synchronization schedule by toggling the Status switch between On and Off.

-
Trigger a full sync: By default, a source syncs data incrementally unless configured differently. However, there may be occasions when you need to conduct a full data sync. To initiate this, select
Force full syncfrom the⋮menu. A full sync will erase all previously synced data from your source and then re-sync all the latest data, pulling records from as far back as your source's configuration specifies. -
Delete the source: Lastly, to completely remove the source, click on
Deletefrom the⋮menu. You will be given the option to delete all of its associated data.
Updated 5 months ago
