
Importing data with Airbyte Jira Connector
This page explains how to run the Faros Airbyte Jira Connector, using Airbyte Server (UI) and Airbyte CLI. As an example, the connector will be configured in run mode WebhookSupplement mode, to sync only the streams necessary for complementing Jira Webhook and obtaining full TMS schema data.
Airbyte Server
For configuring the connector in the Airbyte UI you can follow these steps:
Configure the Source Docker Image
-
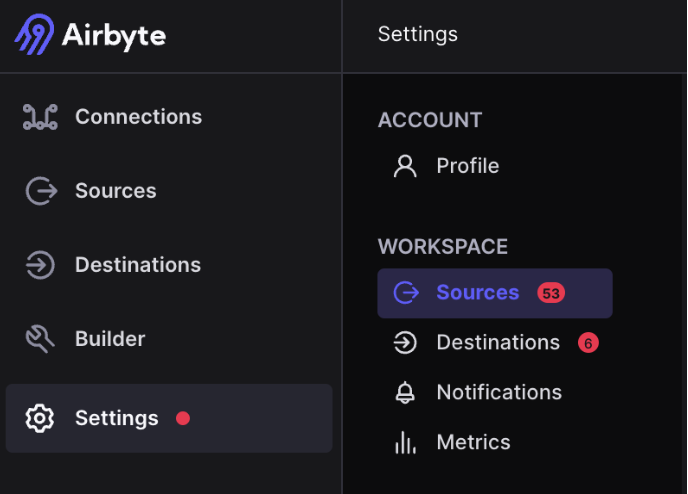
Go to Settings > Sources
-
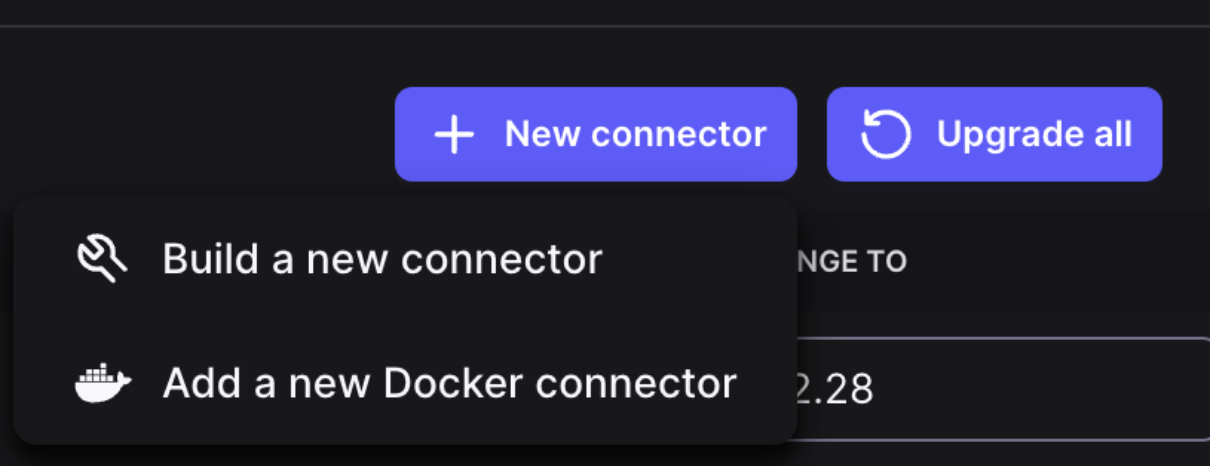
Click on the New Connector button on the top right corner. Then select Add a new Docker connector
-
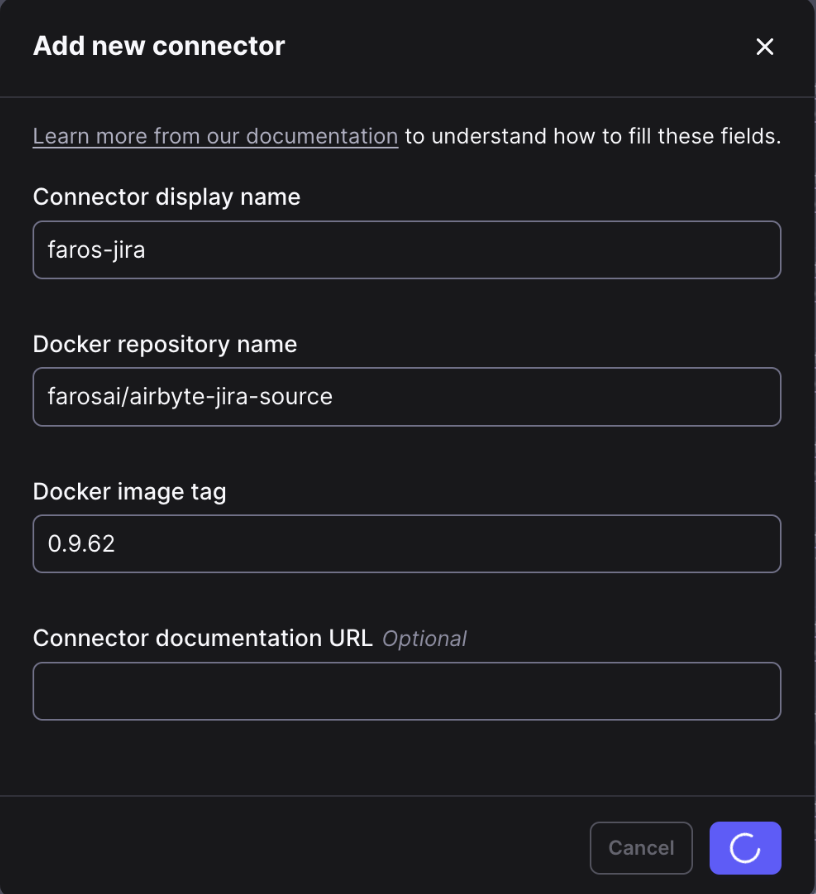
Input the values for Connector display name, Docker repository name and Docker image tag as shown in the picture below (for the image tag use the latest available version at the moment you are adding the connector)
Set Up the Connector
-
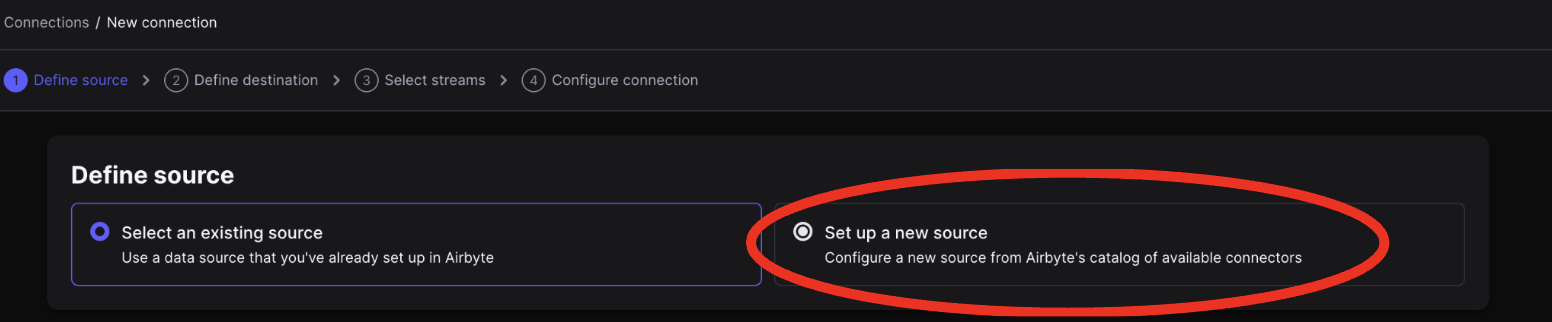
Go to connections and select create a new connection on the top right corner.

-
Select the set up a new source option
-
Search and select faros-jira source.
-
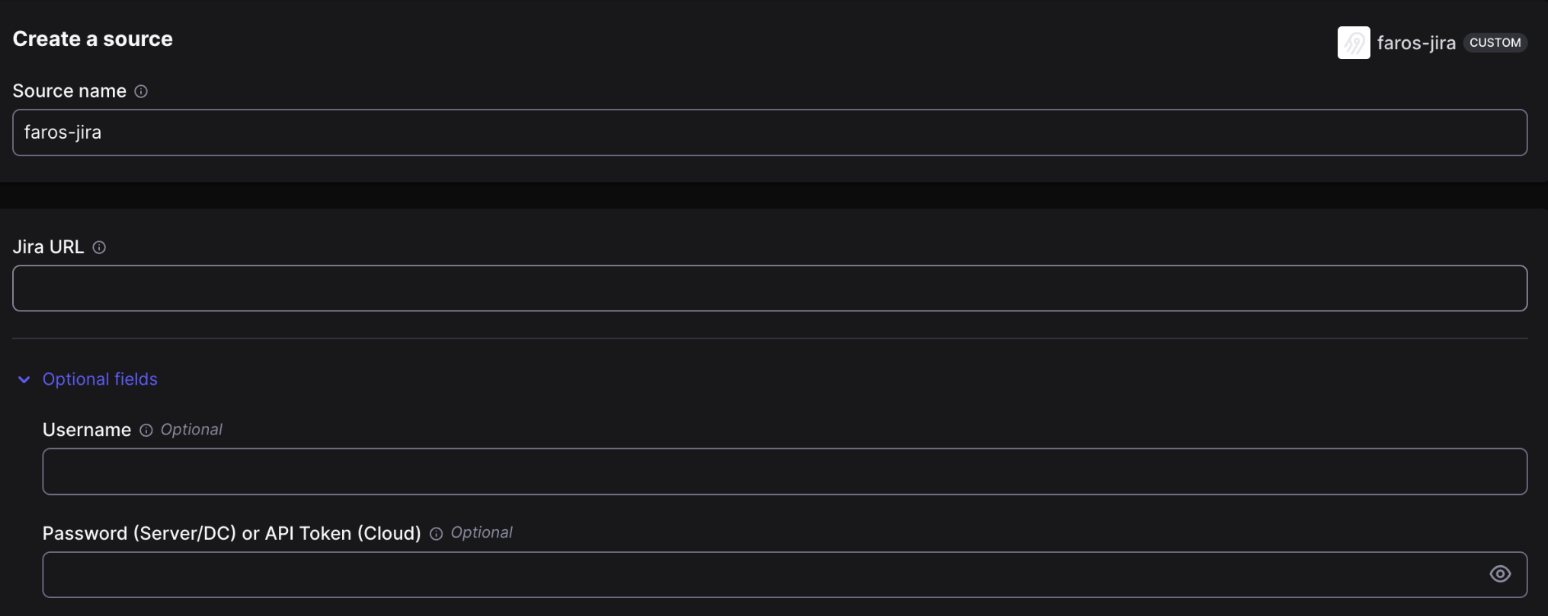
In the configuration, you must provide the following fields:
- Jira Url - Your Jira instance url.
- Username + Password or Personal Access Token, depending on the authentication method you choose.
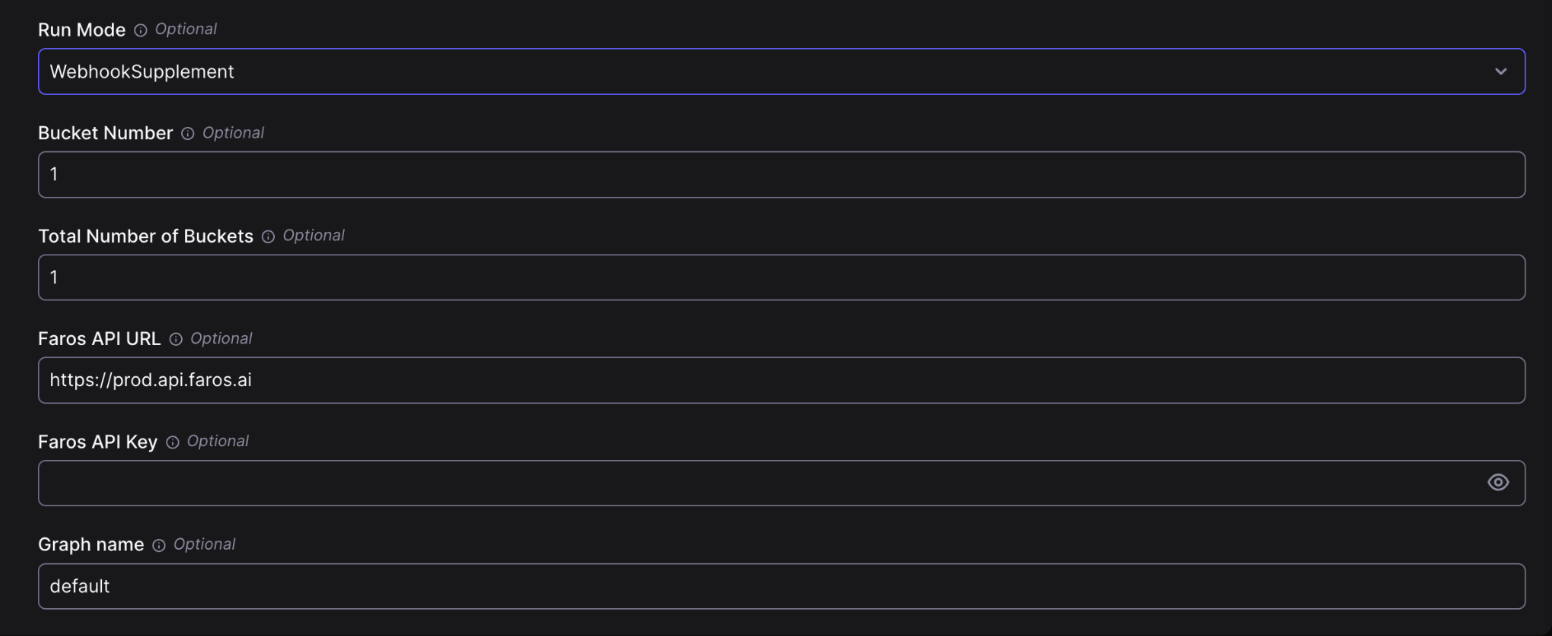
- Run Mode - Set WebhookSupplement so it only runs the neccesary streams to supplement the webhook data
- Faros API Credentials - Add your Faros URL, API key and graph name, so we can query the existing data
-
Select the set up a new destination option

-
Search and select faros destination
-
In the Faros Edition config, select Cloud Edition option and add your Faros Credentials, including the URL and graph name. You can leave the rest of the fields with the default values.
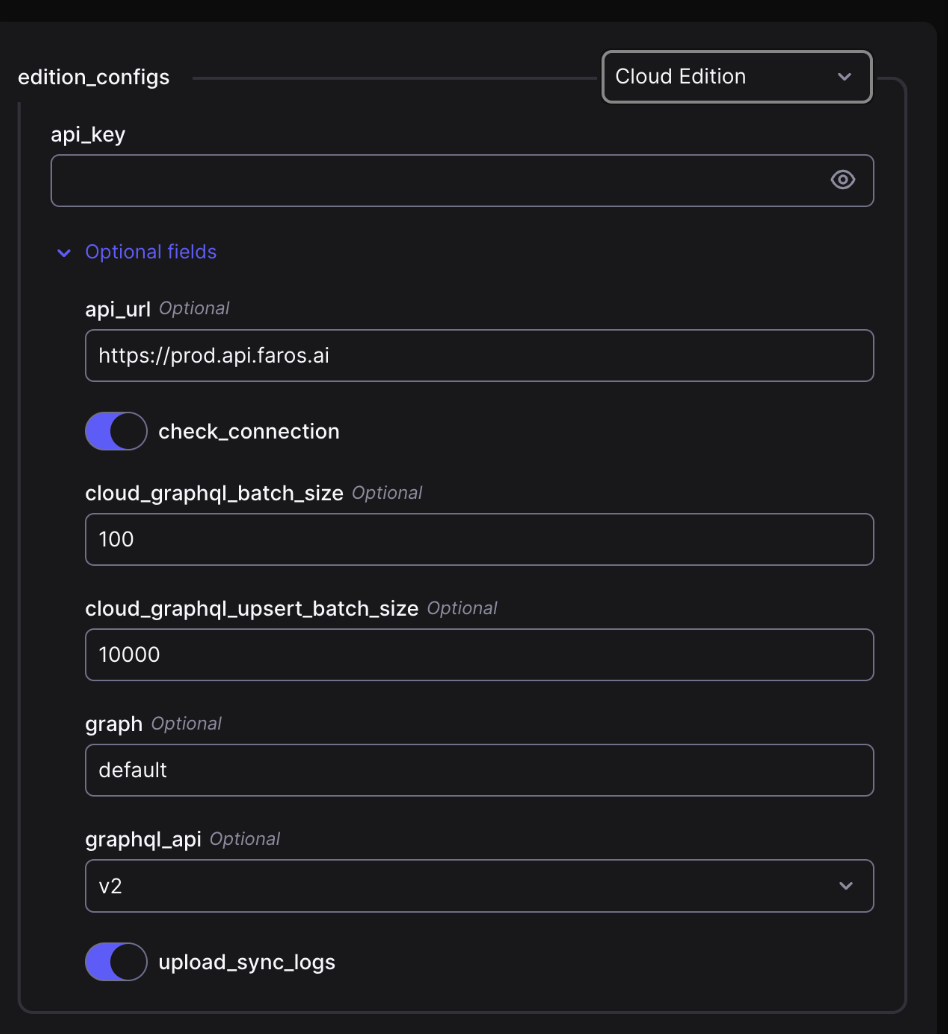
-
Click on setup destination.
-
After the source schema is fetched, you will see the stream selection. Select the Mirror Source sync mode (default one)

-
On the Select Streams section, click on the upper left toggle next to “Sync” to include all streams. Also make sure the sync modes for each stream is set to the ones that are in the following screenshot:
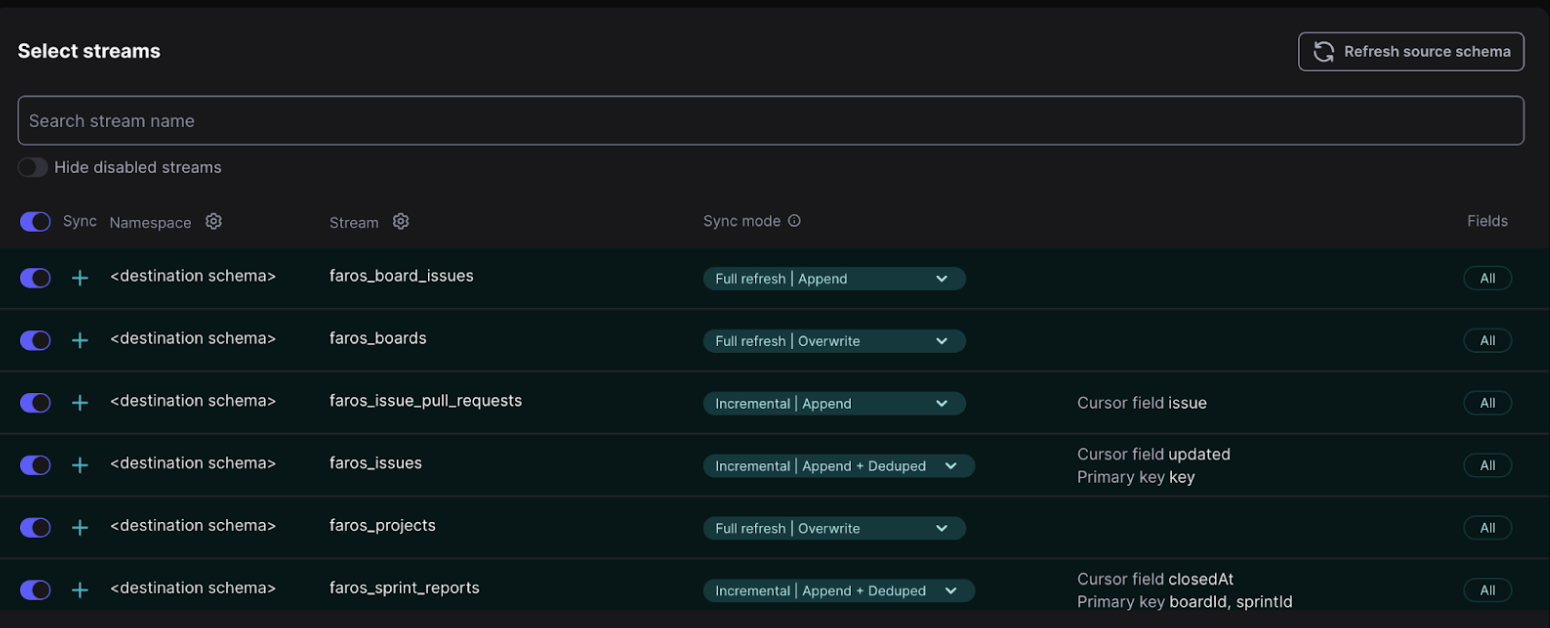
-
Finally, configure the connection. Set the name and choose the schedule and replication frequency as you desire. Make sure to also include the Stream prefix, using something similar to
myconnection__jira__as an example.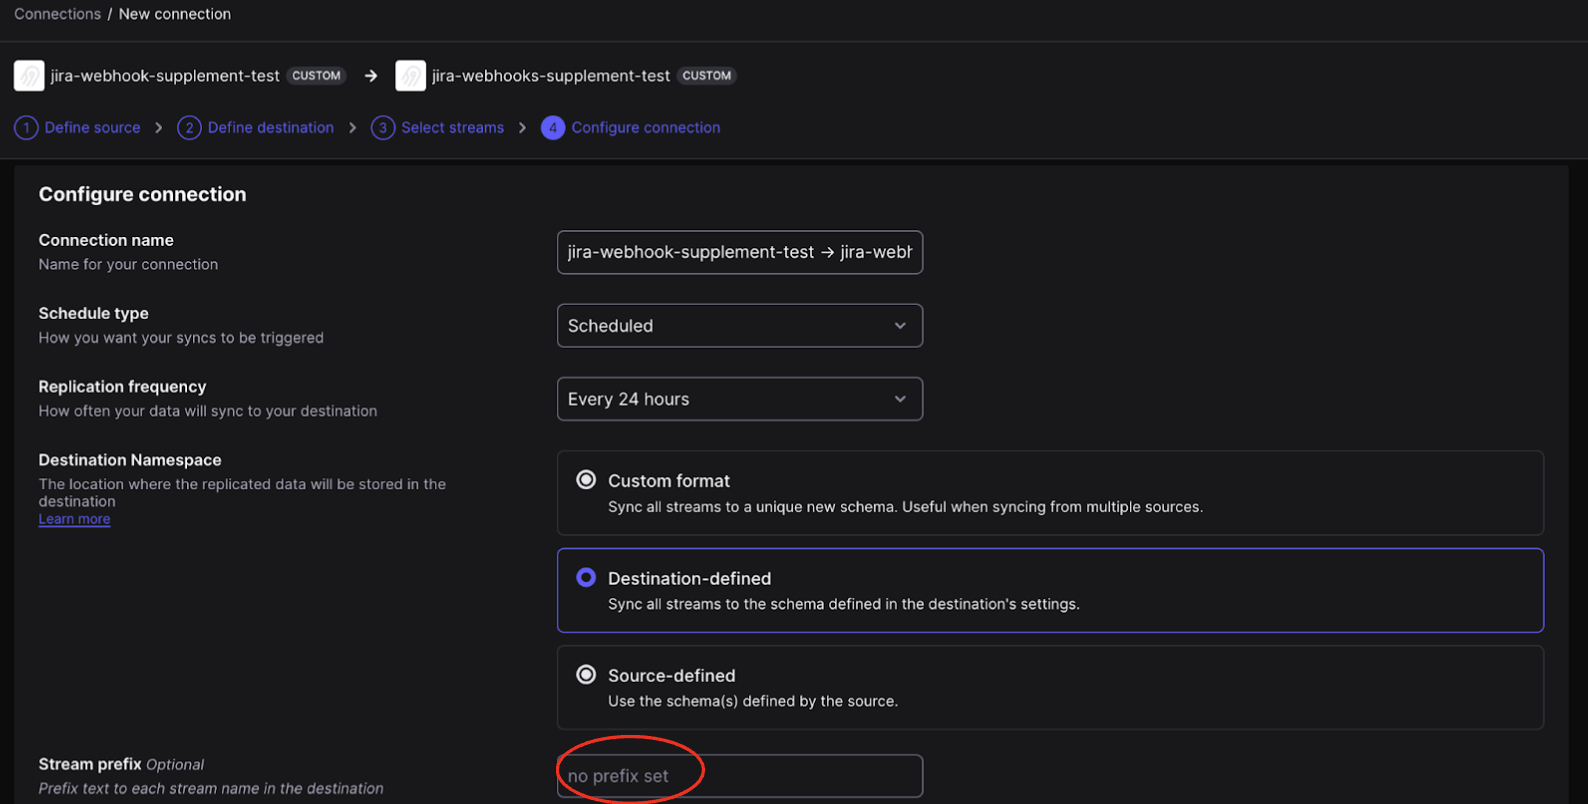
Airbyte CLI
If you want to run the connector using Airbyte-CLI, you can simply use the following command:
bash <(curl -s https://raw.githubusercontent.com/faros-ai/airbyte-local-cli/main/airbyte-local.sh) --src farosai/airbyte-jira-source --src.url "https://example.atlassian.net" --src.username "user@example" --src.password $JIRA_PASSWORD --src.run_mode "WebhookSupplement" --src.api_key $FAROS_API_KEY --src.graph "graph-name" --dst.edition_configs.api_key $FAROS_API_KEY --dst.edition_configs.graph "graph-name" --dst "farosai/airbyte-faros-destination"
Updated 5 months ago